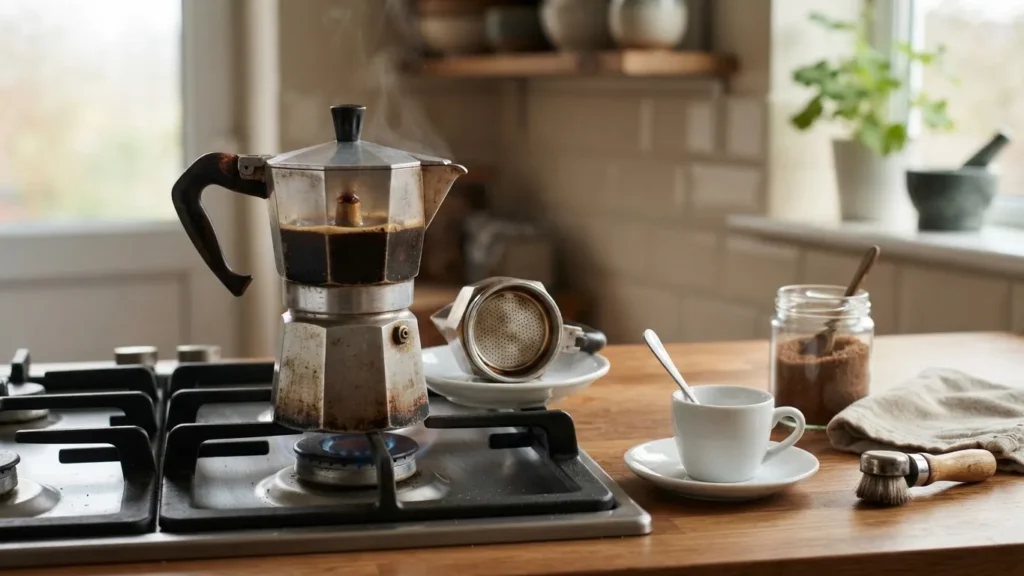
The sugar foam on a proper cafecito comes from the first few dark drops out of the pot, not from the whole brew. Whip those concentrated drops with sugar while they are still hot and you get the pale, airy crown Cubans call espumita. Pour the finished coffee over plain sugar afterward and you get sweet coffee with no foam at all. That single timing decision is what most home setups miss when they reach for a moka pot for Cuban coffee, and it is also the cheapest mistake to fix once you know which liquid to grab.
The other half of the job is the brew itself: what the pot actually produces, how fine to grind, and when to take it off the heat. Those numbers decide whether your cafecito reads as intense and clean or scorched and flat.
A moka pot for Cuban coffee produces a concentrated brew at roughly a 1:10 coffee-to-water ratio and about 3 to 4 percent dissolved solids, closer to strong drip than to a pulled shot. The espumita forms when you whip the first drops from the pot with sugar until the mixture turns from dark brown to pale gold, then stir in the remaining coffee. Brew around 93°C (200°F) over medium heat for about 4 to 5 minutes, and lift the pot at the first gurgle to stop it from turning bitter. From that one brew you can pour a cafecito, a colada, or a cortadito depending on how you serve it.
Why your moka pot won’t give you espresso or crema
Call the output “espresso” and you set the wrong expectations for grind, strength, and the missing crema. The physics are different. A moka pot pushes water up through the grounds at roughly 1 to 2 bar, while espresso machines are built around a 9 bar standard. Because the pressure is a small fraction of what a machine delivers, the coffee carries far less emulsified oil and gas, so the thick crema on top of an espresso shot does not form.
The concentration gap is just as real. The moka pot entry on Wikipedia places moka coffee at about 3 to 4 percent dissolved solids, against 9 to 10 percent for espresso and roughly 2 percent for drip. So a cafecito sits between a cup of drip and a shot: strong, but not the syrupy density of a machine pull. Where marketing copy and measured data disagree, the measured framing is the one to trust here. The pot makes a concentrated stovetop brew; it does not make espresso, and knowing that keeps you from grinding and dosing as if it did.
Strength in caffeine terms is harder to pin down. A spread that wide means dose and taste are better guides than any published value.
The espumita: which drops make the foam, and how much sugar
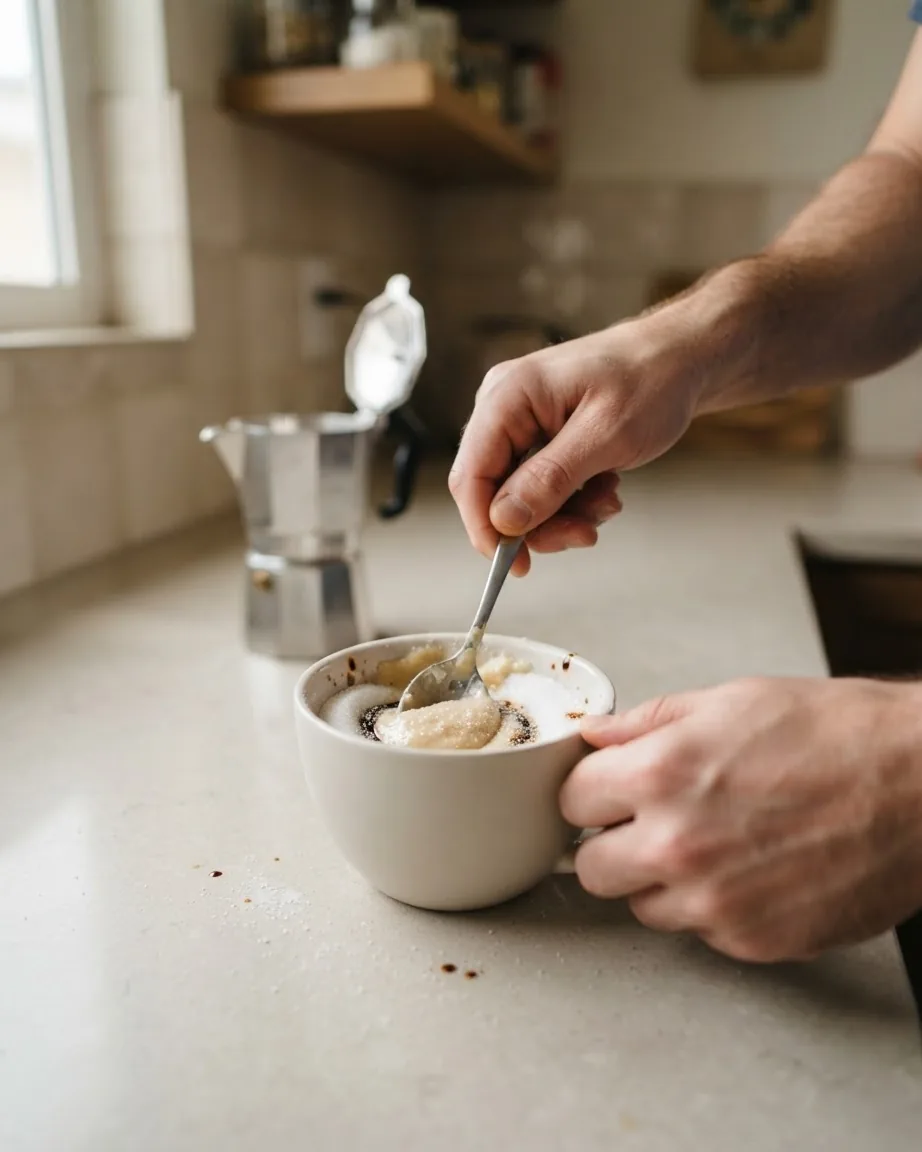
The foam is a mechanical trick, not a roast or a bean. You are beating air into a hot sugar-and-coffee paste until it lightens and holds. The reason the first drops matter is concentration: the coffee that emerges earliest is the darkest and thickest, and that density is what lets the paste stiffen instead of staying watery.
Per the cafecito method published by Complete Home Barista, you pour the first few drops onto 1 to 2 teaspoons of sugar per cup and stir hard into a thick pale paste before adding the rest of the coffee. A workable starting point is about 1 to 2 teaspoons of those first drops whipped into 2 teaspoons of sugar.
Sugar dose is where published recipes split, and the split is about the base unit, not a mistake. In the comparison compiled by Complete Home Barista, one recipe (Café Real) sets 1 teaspoon of sugar per shot, while another (Savor the Flavour) sets 1 tablespoon per moka-pot cup. Both can be correct because they measure against different things: a single shot, a whole pot cup, or a fixed quantity of sugar. The practical rule is to decide your base first, then scale. If you are pulling one small cup, think per shot; if you are brewing a six-cup pot to share, think per cup, and keep the ratio of first-drops to sugar roughly even so the paste still stiffens.
When the espumita won’t form: runny, pale, or grainy
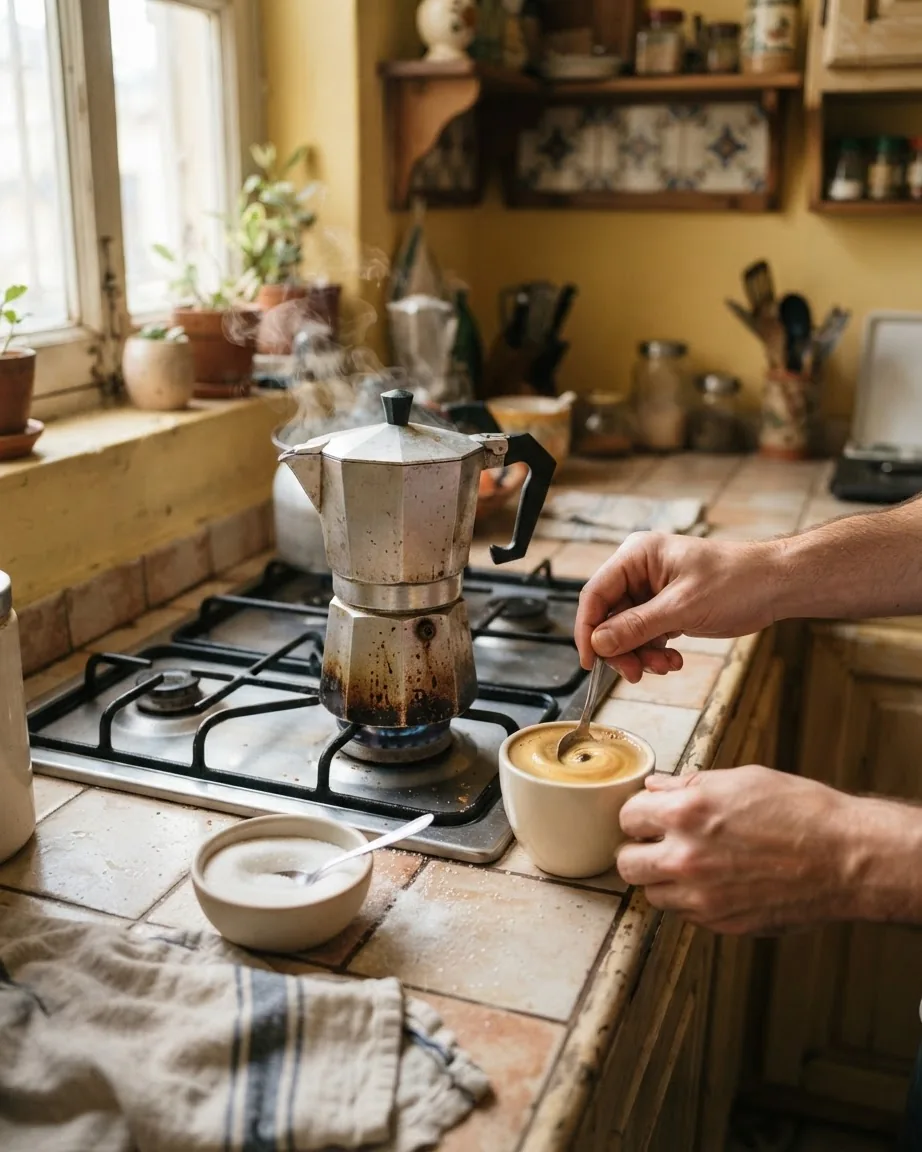
Three failures cover almost everything, and each has a distinct cause. The diagnosis below follows the troubleshooting guide from Complete Home Barista.
- Runny, never thickens into a paste. Too much coffee for the sugar. The liquid stays thin because there isn’t enough sugar to build structure. Start over with less of the first drops, or add sugar.
- Stays dark, won’t lighten to gold. Usually the drops went in too late and the mix cooled, or the cup is too wide and shallow to let the stirring build air. Start whipping immediately while the coffee is hot, and use a narrow cup so the spoon works a deep column instead of a flat pool.
- Grainy or gritty. Under-whipped. The sugar hasn’t fully dissolved into the paste. Keep going. The same guide notes a grainy texture at the start is normal and smooths out as you stir.
The endpoint is visual, not timed to the second. Café Real, as reported in that guide, puts the whipping at about 1 to 2 minutes of vigorous, consistent stirring, until the mixture turns from dark brown to pale gold. When the color shifts and the paste holds a soft peak, stop and fold in the rest of the coffee.
Grind, heat, and the gurgle cue: tuning the moka pot for Cuban coffee
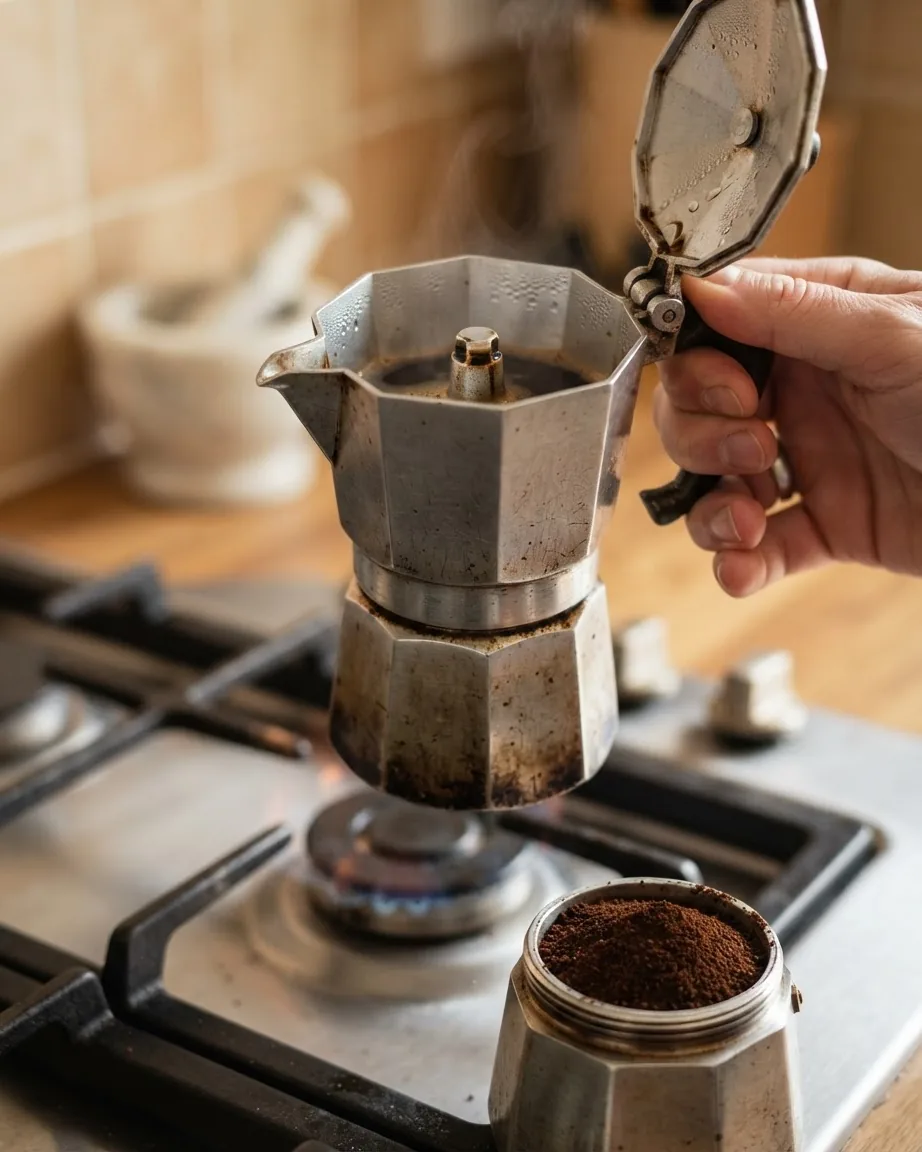
Grind is the one genuine tension in the whole process. General moka advice points to a medium-fine, table-salt texture. Cuban tradition uses a very fine, espresso-style grind, which is what pre-ground tins like Bustelo already give you. Finer is not free: it raises the risk of over-extraction and of the basket clogging, both of which push the cup toward bitter. The resolution is not to abandon the fine grind but to manage it with the other levers.
Those levers are heat and timing. According to 1st-line Equipment, the target brew-water temperature is around 200°F (93°C) and the ideal brewing window is about 4 to 5 minutes; too hot over-extracts, too cool under-extracts. The complication is that 93°C is a target to engineer toward, not a temperature the pot holds on its own.
That final stage has a name. Wikipedia, citing Navarini et al. 2009 in Applied Thermal Engineering, describes a “strombolian” phase, the sputtering, spitting burst at the end as the last of the water flashes through as steam. 1st-line’s guidance lines up with it: pull the pot at the hissing or gurgling sound to avoid bitterness. So the cue is audible, not a timer. When the steady stream breaks into a gurgle, the useful coffee is already out and what follows is mostly steam and scorch.
Put together, the anti-bitter routine is short: don’t tamp the grounds hard, keep the burner on medium rather than high, aim for that 93°C band, and cut the heat at the first gurgle somewhere in the 4-to-5-minute window. If the cup still reads bitter, coarsen the grind a notch before you touch anything else. If it reads thin and sour, go finer or hold the heat slightly longer. For a deeper look at how particle size is labeled and measured, see our Coffee Ground Medium guide.
Cafecito, colada, and cortadito: what you’re actually pouring
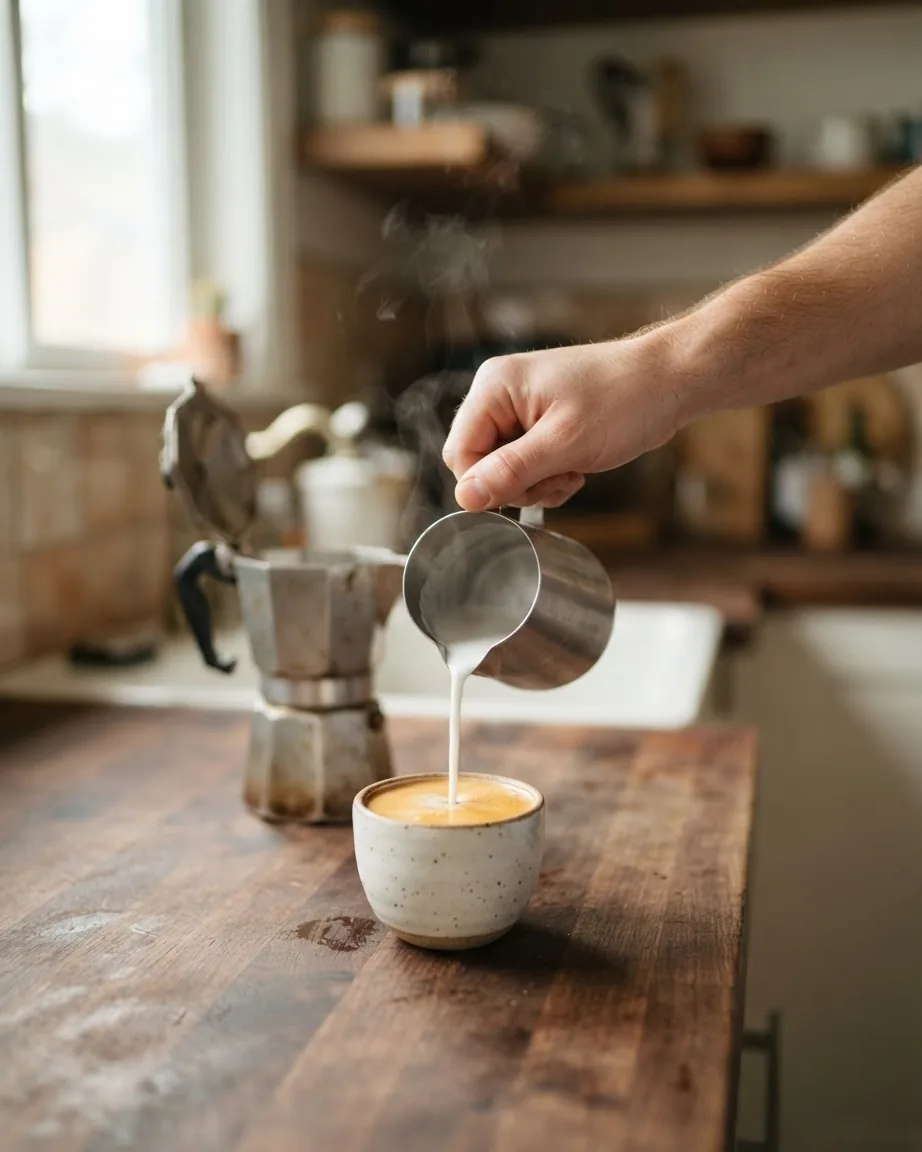
One brew, three drinks, and the difference is in the serving, not a separate recipe. Getting the names right also tells you how much to make.
- Cafecito. A single sweetened shot crowned with espumita, drunk in one or two sips. This is the baseline Cuban coffee and the one the foam method above is built around.
- Colada. A sharing format. The Cuban espresso entry on Wikipedia describes a colada as 3 to 6 shots served together in one cup, with small plastic demitasses passed around so a group can each take a little. If you are brewing a colada, scale the pot and the sugar up before you brew, not after.
- Cortadito. A shot topped with steamed milk, pre-sweetened, at an espresso-to-milk ratio running from 50/50 to 75/25. It is the milkier, softer cousin of the cafecito.
The cortadito is where Cuban coffee overlaps with the wider family of milk-cut espresso drinks; our Cortado Coffee guide covers that neighboring style.
Coffee, sugar, and pot size for a Cuban cup
The shopping list is short and specific. For beans, Cuban-style coffee leans on dark Italian or Spanish roasts, and the traditional supermarket brands named for this style are Café Bustelo, Café La Llave, and Café Pilón. Any of the three, ground espresso-fine, gives you the roast depth the drink expects without a separate grinder.
For sugar, white granulated is the default for the foam because it whips cleanly into the paste. Brown or demerara is a flavor choice, not a structural one; it can muddy the color you are using as your doneness signal, so if you are learning to read the pale-gold endpoint, start with white.
Pot size decides how many of those drinks you can pull. Moka pots are sold by the number of demitasse cups they make, measuring roughly 40 to 60 ml per cup. Wikipedia’s figures put a 1-cup aluminum pot at 60 ml and a 6-cup at 250 ml, and the line runs from one up to eighteen 50 ml servings. For a solo cafecito, a 1- or 3-cup pot is plenty. For a colada to share, size up to a 6-cup and scale the sugar per cup as you go; the sugar math scales cleanly, so if you know your per-cup dose you can multiply it by the cup count without guessing.
Aluminium and cleaning: keeping a Cuban moka pot safe
Most Cuban-style pots are aluminum, which raises the obvious question about what ends up in the cup. The data is reassuring under normal use. Wikipedia, citing Stahl et al. 2017 in Environmental Sciences Europe, reports that aluminium migration from a moka pot into coffee is negligible once the pot has stabilized with use, below 1 percent of weekly intake. The caveat is cleaning: running the pot through a dishwasher raises migration to around 4 percent and is discouraged.
So the maintenance rule is a hand-wash with warm water, not the dishwasher, and not an abrasive scrub that strips the seasoned interior. Letting a thin coffee patina build on the inside is normal and part of why migration drops with use. A new pot that still tastes metallic will settle after the first several brews. If you want the strength and ritual without the aluminum question at all, stainless and steel-lined moka pots exist, but for the traditional Cuban cup the classic aluminum pot, hand-washed, keeps the metal exposure within the range the published measurements describe.
How concentrated is a cafecito, really? Put a number on it
The article gives three dissolved-solids figures: a moka brew lands at about 3 – 4%, drip at ~2%, and espresso at 9 – 10%. Divide them against each other and the “it’s not espresso” claim stops being an opinion and becomes a ratio.
- Against drip: moka’s ~3 to 4% dissolved solids against ~2% for drip puts your cafecito at only 1.5 to 2 times as concentrated as a regular drip cup – stronger, but in the same league.
- Against espresso: 9 ÷ 4 = 2.25x to 10 ÷ 3 = 3.33x. A real pulled shot is roughly 2.3 to 3.3 times more concentrated than what the moka pot gives you.
So on the concentration axis a cafecito sits far closer to strong drip than to espresso – it covers about a third to a half of the way there, not the full distance. That gap is exactly why you grind and dose for a concentrated stovetop brew, not for a 9-bar shot that never comes.
Frequently asked questions
Can a 6-cup pot make enough espumita for a colada?
Yes, but scale before brewing, not after. A colada is 3 to 6 shots, so a 6-cup pot at 250 ml is the right size. Whip the first concentrated drops with sugar dosed per cup, then fold the rest in. The foam volume grows with the sugar and first-drop quantity, so keep their ratio even as you multiply up.
Does the type of sugar change whether the foam forms?
White granulated whips into the stiff pale paste most reliably, which is why traditional recipes default to it. Brown and demerara add molasses flavor but also darken the mixture, which hides the brown-to-gold color shift you rely on to judge doneness. They can still foam, yet while you are learning the endpoint, white sugar removes one variable.
How much caffeine is really in one cafecito?
No single number holds up. Treat a cafecito as a strong, small serving and judge it by effect, not by a headline milligram count.